
Preparing To Climb Mount Saint Helens
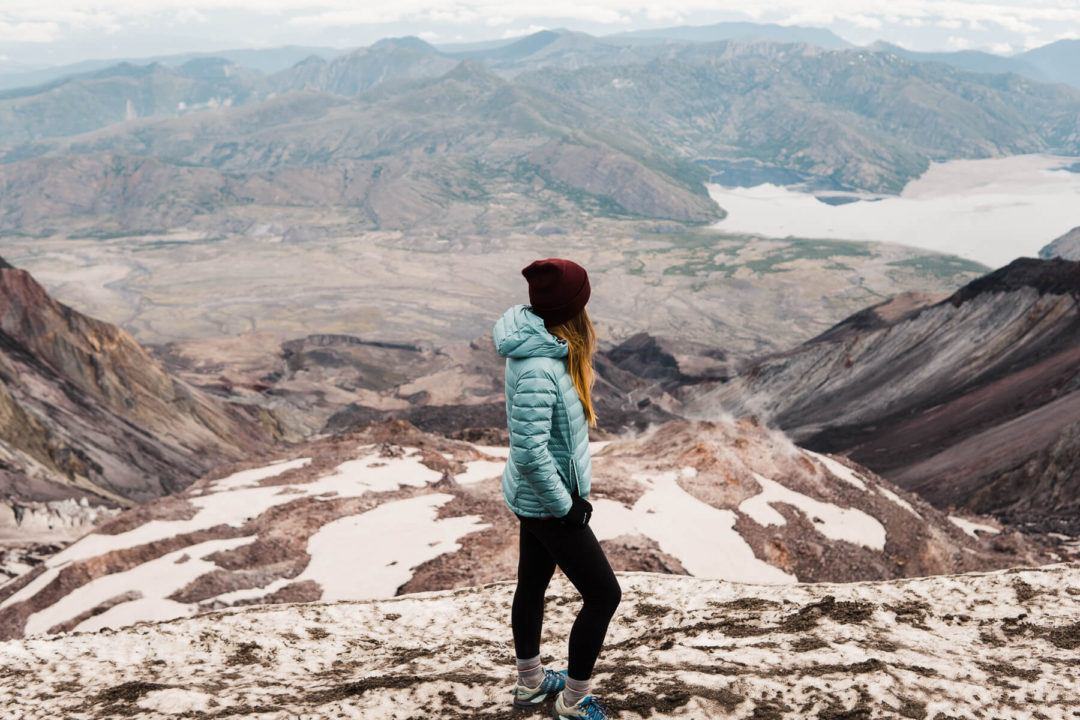
We have lived in Washington for most of our lives and in school we learned about the explosion of Mount Saint Helens in 1980. As you can imagine, we both wanted to climb the mountain to see the crater and experience the mountain. Friends of ours did it and told us about how amazing it was, so we made it our goal to climb it this past summer.
How to Get a Permit For Mt St Helens
It was a very spontaneous decision and by the time we decided on it the permit lottery had already happened. I ( Katie) started doing research and checking the recreation.gov website every morning. During that time I was waking up very early at 5 am to teach English classes so luckily one of those mornings I found two available permits for July 12th (the day before my birthday) and without hesitation I booked them right away.
During the quota season, which runs from April 1-October 31, the fee for a Mount St. Helens climbing permit is $15.00/climber per day. Permits are required year round but from November 1st to March 31st they are free and can be self-issued at the trailhead. On March 18th the permits go on sale for the quota season (April-October) at 7a.m. Pacific Time.
Planning ahead is important if you want to secure yourself a permit. If you missed the day they go on sale and there are no availabilities, don’t stress because more than likely there will be people who cancel their permits because of one reason or another. Just check every morning and you’re likely to find some! Permits can be cancelled at least 14 days prior to the permit date for a full refund.
The Best Time to Climb Mt St Helens
Mt Saint Helens can be climbed anytime of the year but the most popular and best time to climb it is late spring through early fall. We happened to get it for mid-July so it worked out perfectly. During that time of year there were no snow patches, most of it having melted by that time. In and around the crater there was still some snow and it made the views just that more incredible!
During the summer, the trailhead starts at Climber’s Bivouac. The Monitor Ridge trail is 10 miles, round trip and 4,598 ft of elevation gain.
How Long It Takes to Climb Mt St Helens
During the summer it can take anywhere from 6-12 hours roundtrip to climb the mountain. Starting from Climber’s Bivouac most people start early in the morning and finish around noon time. We also saw other people starting later in the day as we were just returning to our car.
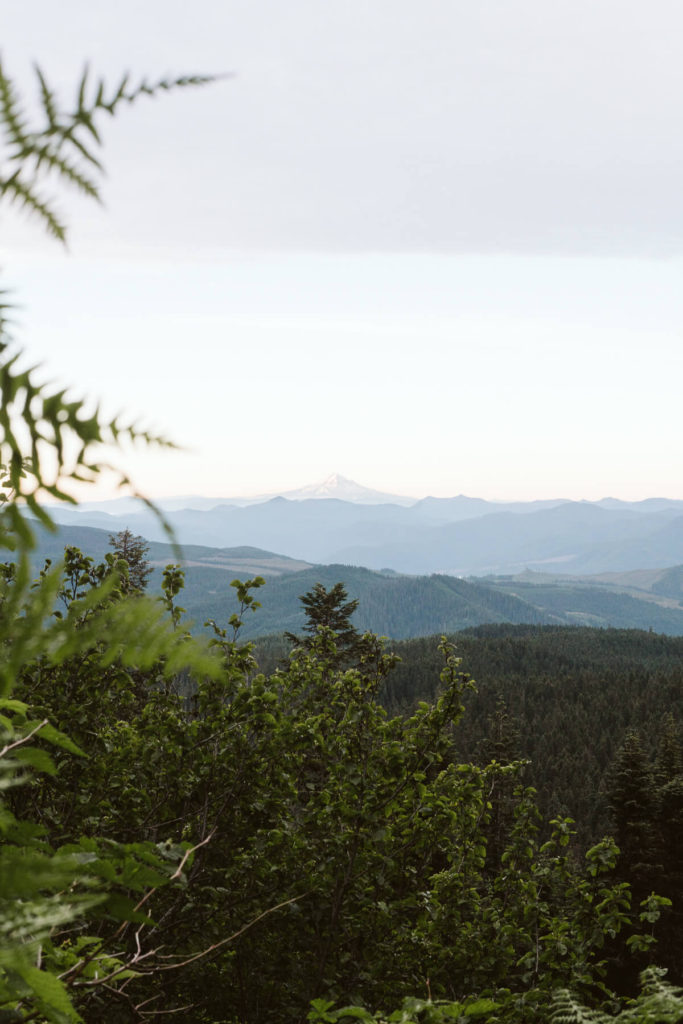
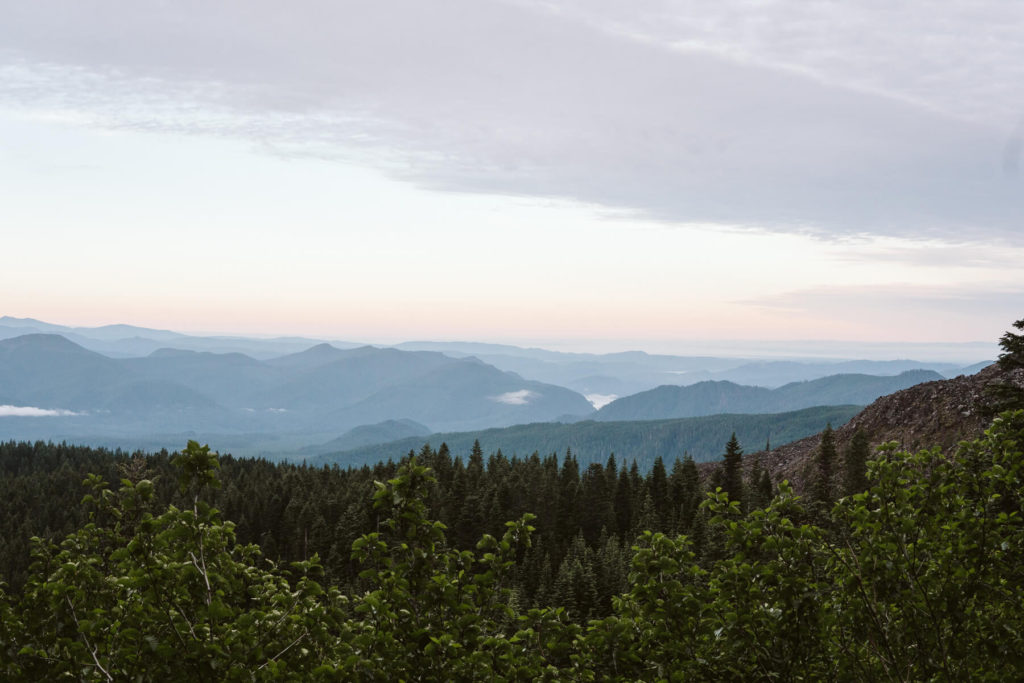
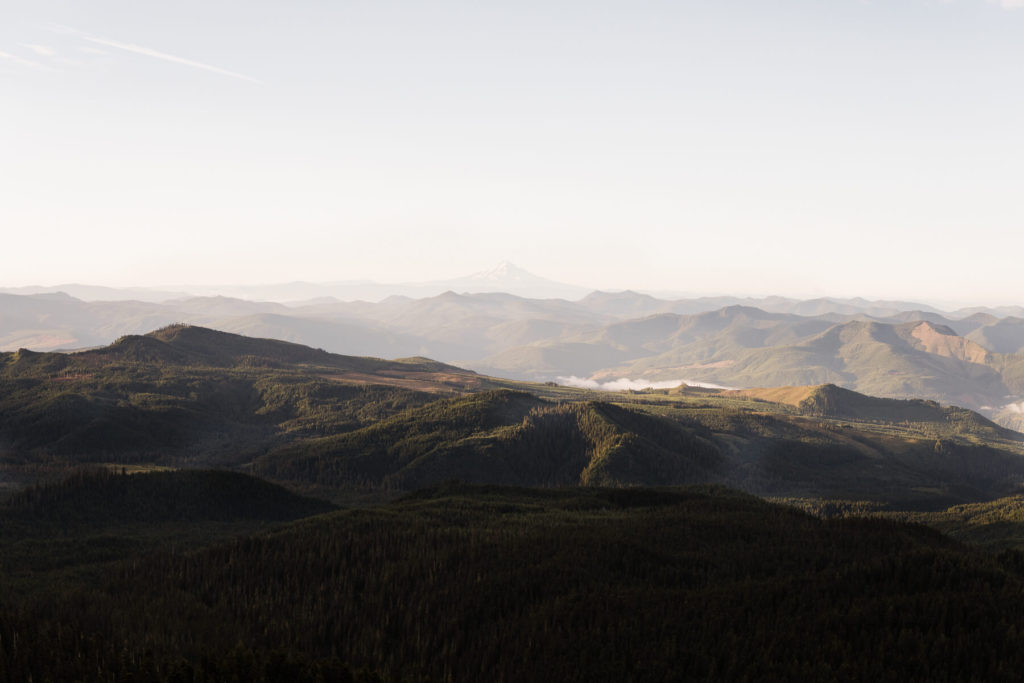
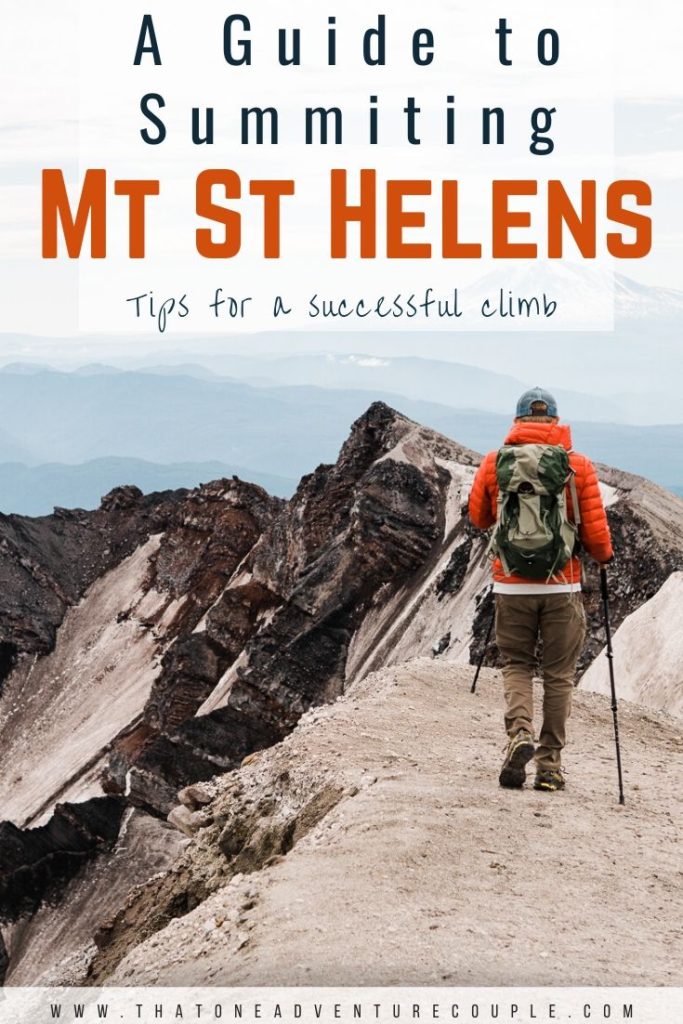
We woke up around 4:30am, partly from excitement, and started our hike around 5am in the morning. It was still dark out and the morning light was just beginning. As we made our way higher up the trail the views and the sunrise were amazing! We were able to see Mt. Hood clearly lit up by the early morning sunrise. There were several times where we would stop to just take in the colors and sights.
Another benefit to starting early is that the sun is lower and it’s not as hot. The ground was solid in the morning and there was no mud, so it was easier to hike. Also, there’s a lot less people on the trail early in the morning vs the afternoon. It took us around 7.5 hours roundtrip. We took a nice long 1 hour break at the top of the crater for lunch, pictures and just to take it all in! We were back at our car at around 12:30ish-1:00pm.
A good start time can be established based on an estimated pace and what hour you would like to summit. Descending down the mountain to the parking lot took half the time it took to summit but it’s still challenging because the trail has rocks and skree.
Where to Stay Night Before Climbing Mt. St. Helens
Some climbers that live locally may choose to climb Mt. St. Helens in a day but others can choose to camp. The best place to camp to be near the trailhead is at Climber’s Bivouac. Camping spots are limited and it’s all on a first come, first served basis. There are no reservations. To our surprise, even though we came pretty late the evening before our climb we easily found a spot to camp at that night. Driving there we were already making back up plans just in case everything was taken.
Another great camping area is the Marble Mountain snow-park. If that is full, Gifford Pinchot National Forest has many camping spots that are a 10-15 minute drive from the trailhead.
Packing List For Climbing Mt St Helens
Being prepared physically for hiking up the mountain and having the right gear and things with you is super important. One of the first things that you should pack and fill up on is WATER! We learned our lesson during our climb when we thought we could find a stream to fill up with water during the climb. To our disappointment, the stream dried up at that time of the year and there was no water! We had one 40 ounce water bottle with us to share between each other. We had enough going up but going down we were completely out. Thankfully there were very kind people descending down the trail with us and they gave us their extra water. Also, there was melting snow stream that we managed to hear and see and we were able to filter and fill up our water bottles! Lesson learned- Bring enough water for your trip!
Suggested Packing List
This packing list is for the summer months when there’s little to no snow.

Water & Water bottle – Enough to last you up and down the climb

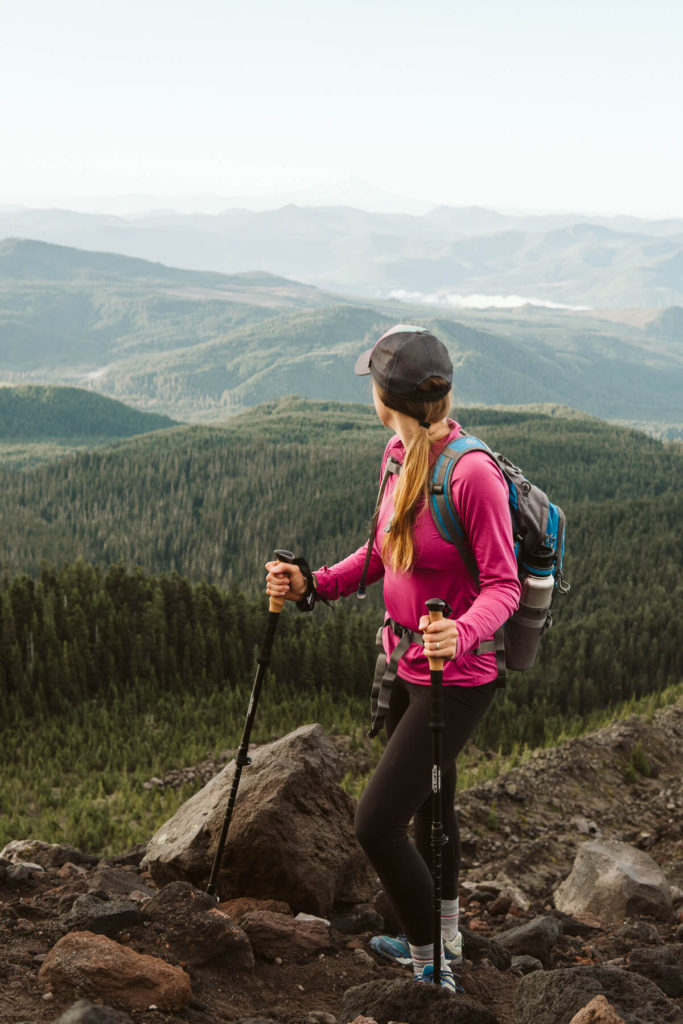
Hiking Poles– They are especially helpful going up the mountain and going over the rocks and skree


Hat (this or that depending on the weather)- Something to protect you against the wind, cold or sun

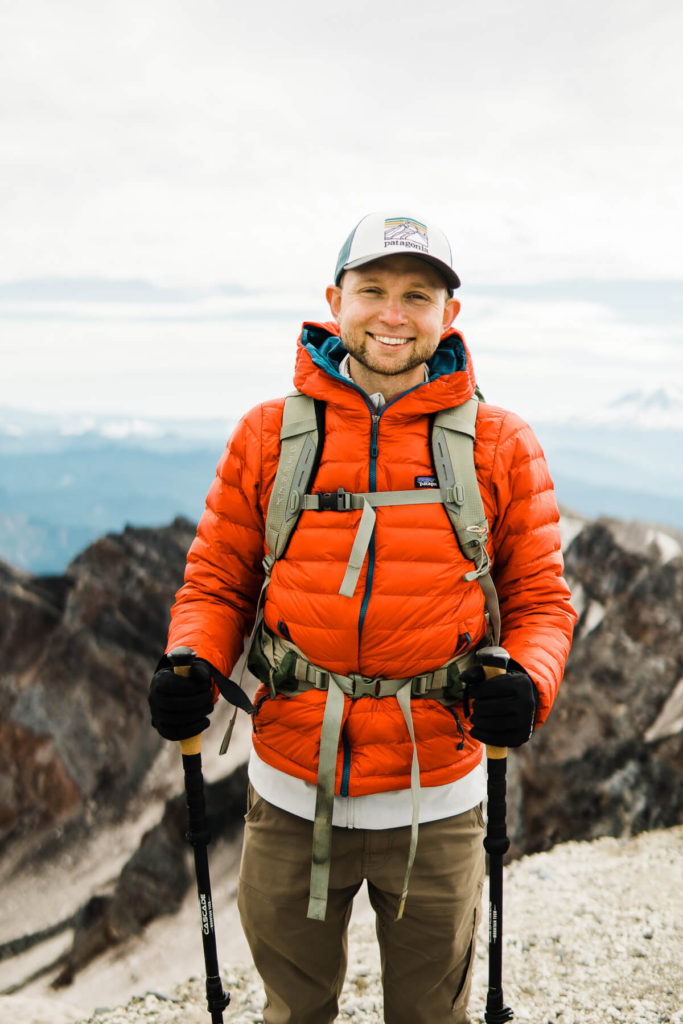
Gloves– These are super helpful up top because it gets pretty cold! Also, we saw some people wearing gloves to protect them from the sharp rocks that you have to climb over.
Hiking Boots (his/hers)– make sure your ankles are proteted


Merino Wool Socks– these are awesome for hiking because they don’t stink and keep you warm or cool depending on what weather it is.


Merino Wool Under layers (his/hers)- depending on the weather, you can always layer down if you need to


Snacks- Granola Bars, Dried fruit and nut mix, beef jerky, sandwiches, mints or ginger chews (we love ginger chews or mints during harder parts of the climb)
Climbing Permit
Chapstick and Sunscreen


BUFF Headwear– for sun or wind protection

Camera & Phone
Map
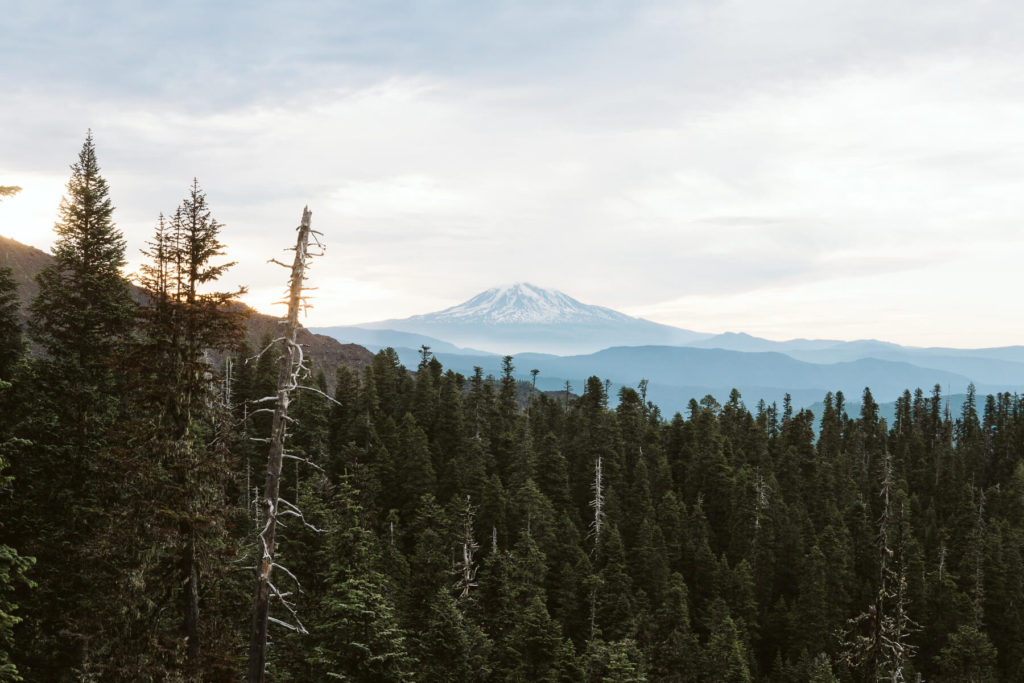
Part One of the Hike: Forest
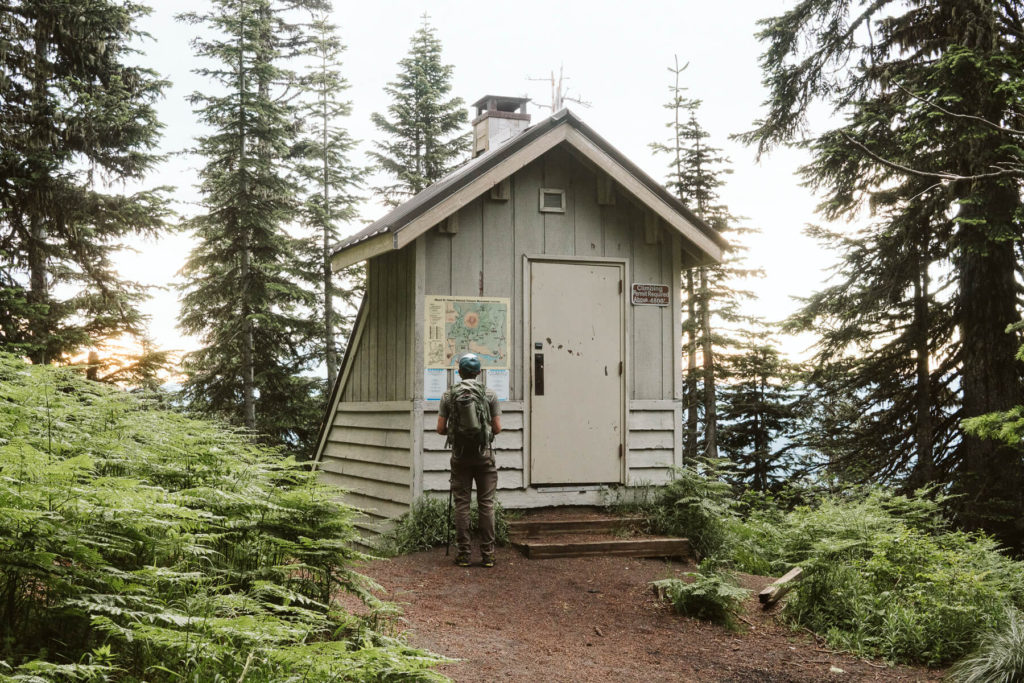
The first part of the hike starts out in a forest. We started our hike around 5 am in the morning by checking in at the trailhead and then turning on our head lamp to make our way up the trail. The first 2 miles on the Ptarmigan Trail are fairly easy and climb 1000 ft through the forest.
We made stops along the way to take pictures of Mt Hood during sunrise and the beautiful cotton candy colors in the sky. The trail also has a turn off to an outhouse and its a great stopping point for a quick bathroom and water break.
The trail is easy the first two miles and once we reached the timberline was when we realized that in the next 2.7 miles we had 3700 ft more to gain.
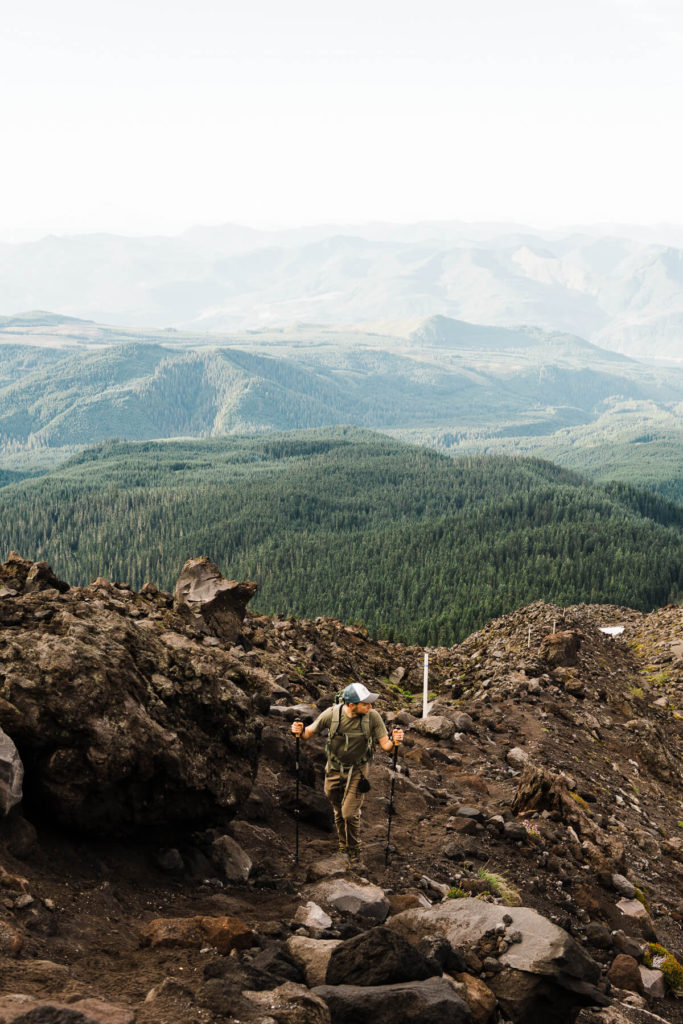
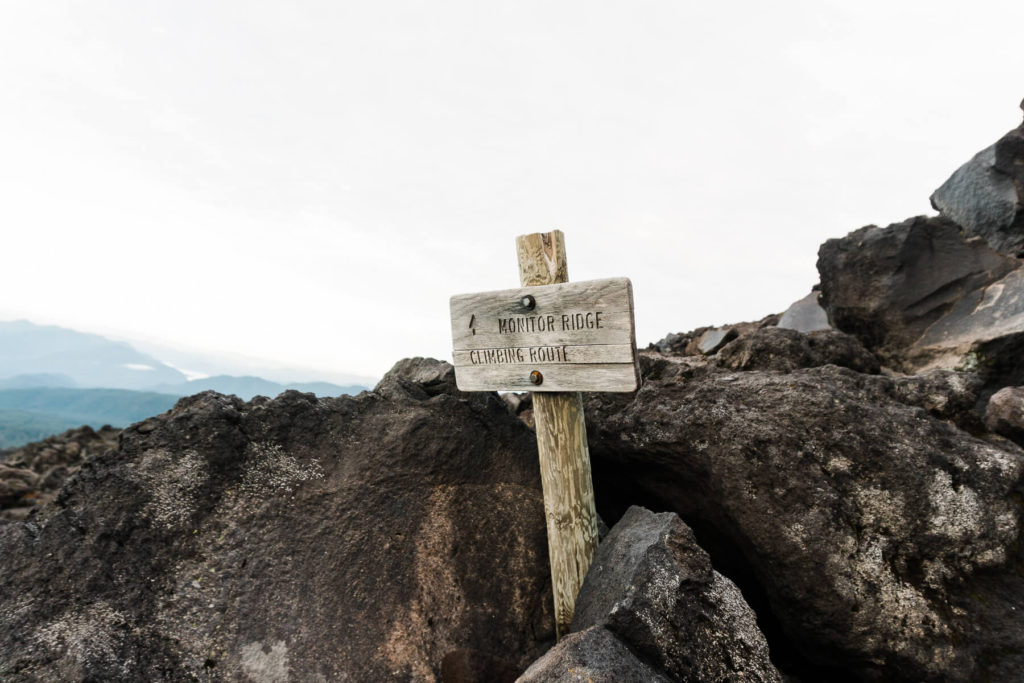
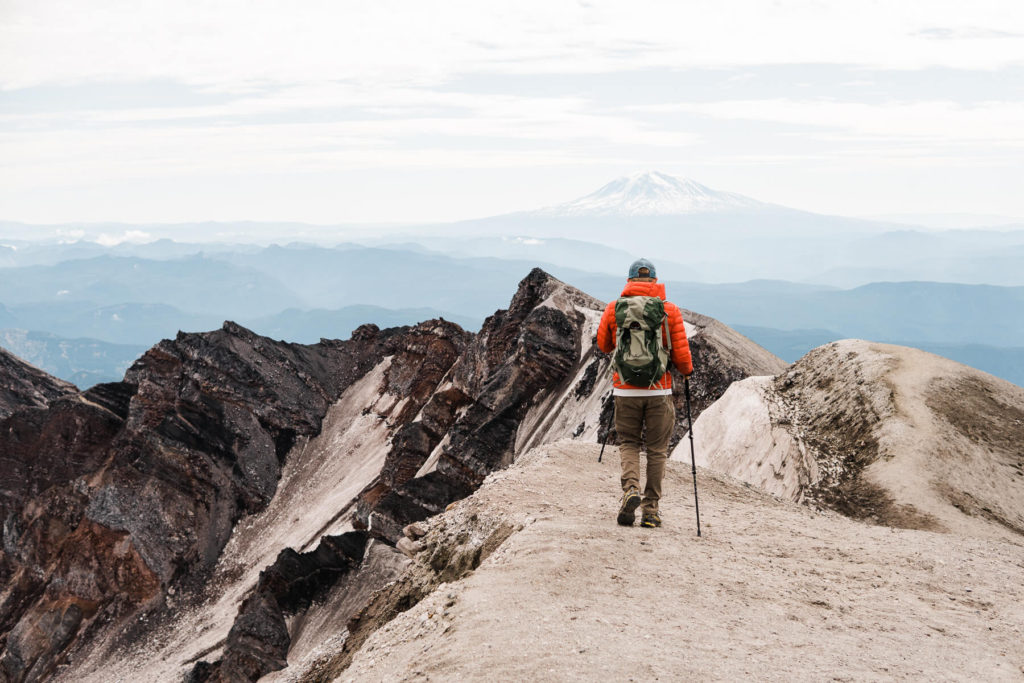
Part Two of the Hike: Rocks
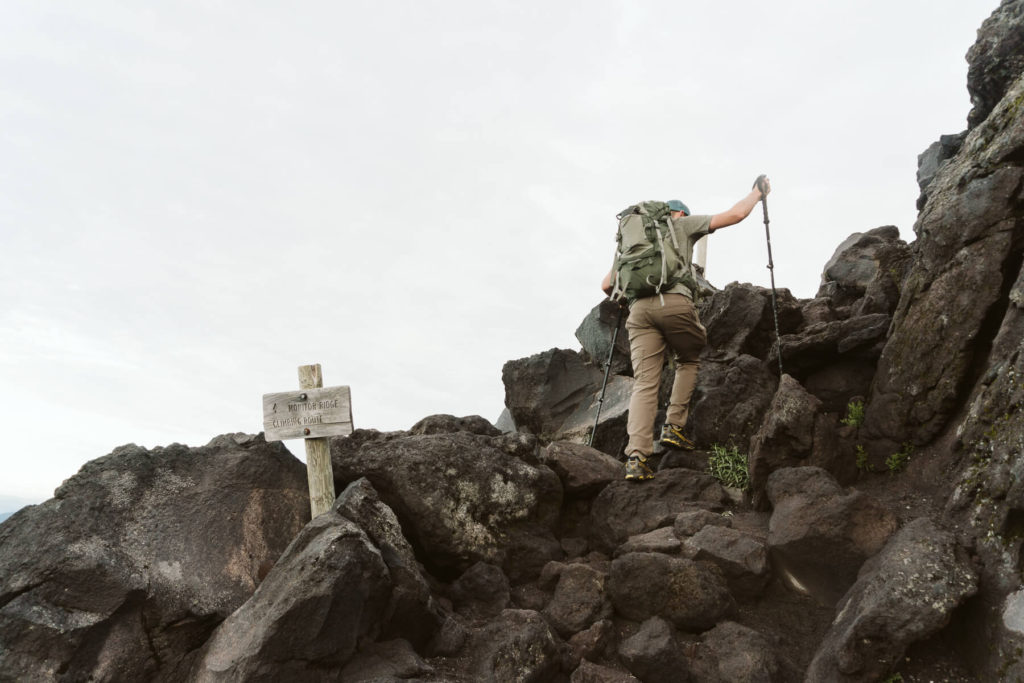
The trail got a lot more difficult once we were out of the forest. We made our way for the next 2500 ft through the boulder fields. At first they were fun and it felt like we were rock climbing but then it quickly got tiring. The rocks are sharp and are dusted with pumice that can cut you if you fall. If you brought gloves this is where you would want to put them on. Thankfully we had our hiking poles that helped out with balance and getting over the boulders. We followed the gully on the left side of the wooden posts sticking out of the ground, making our way up.
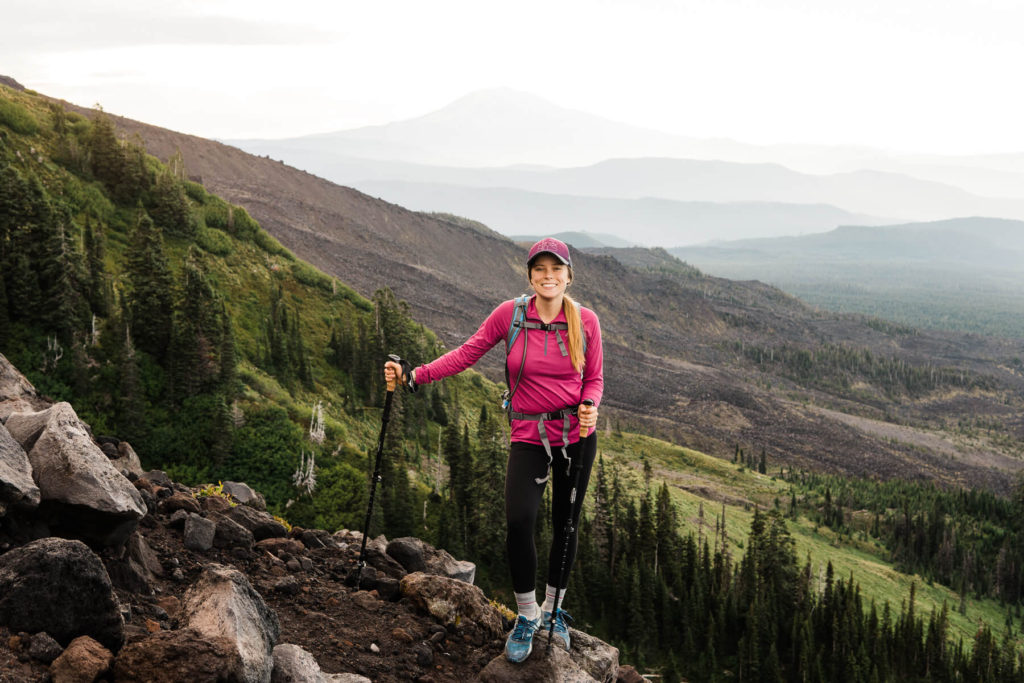
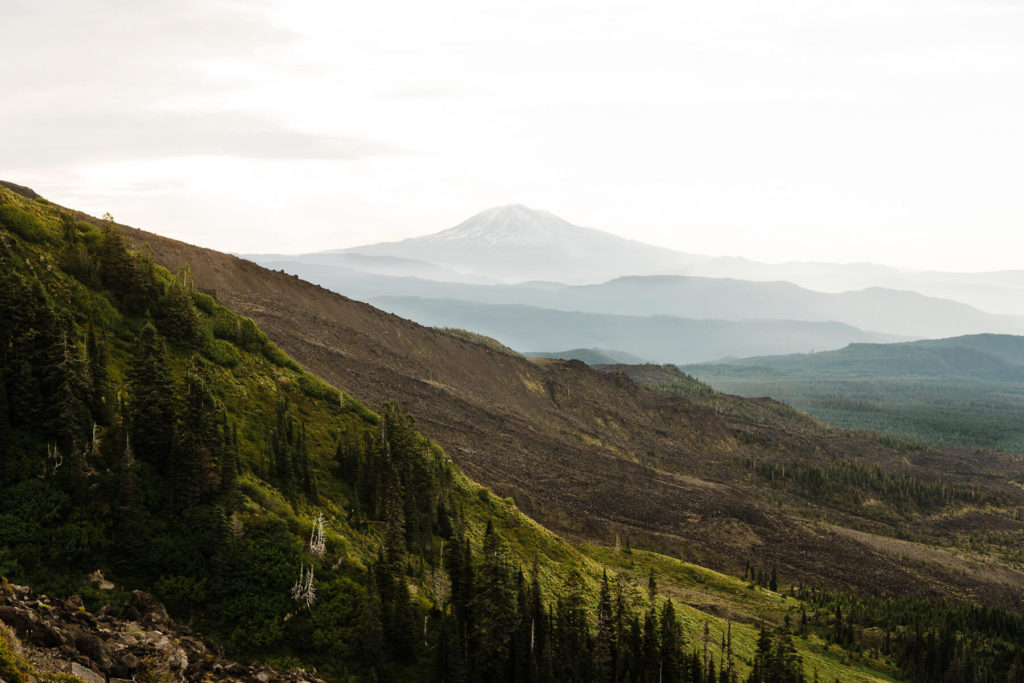
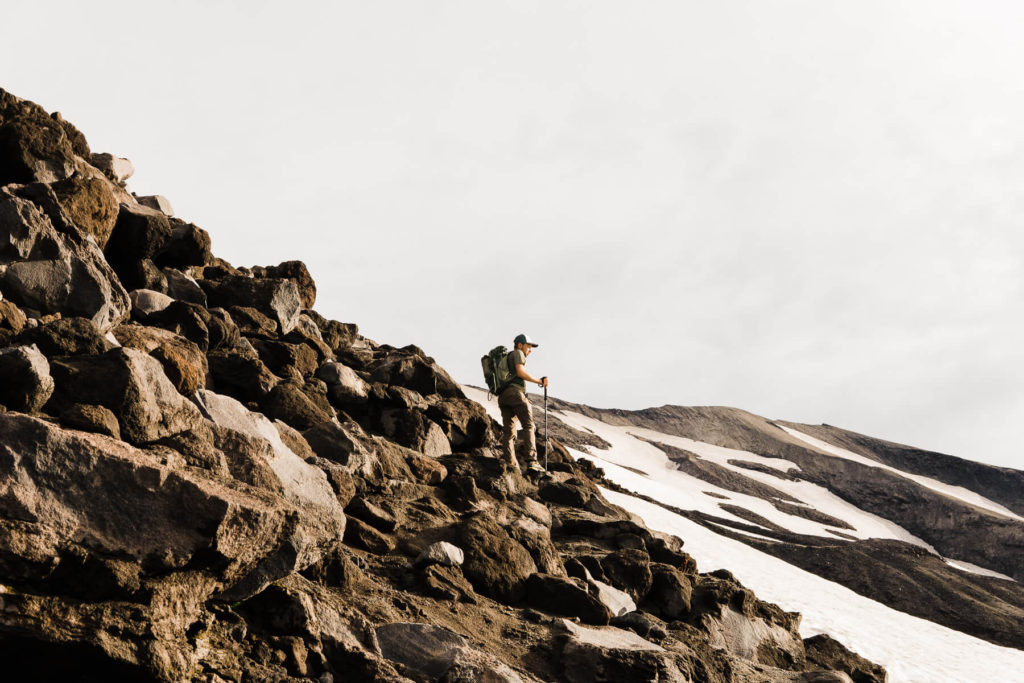
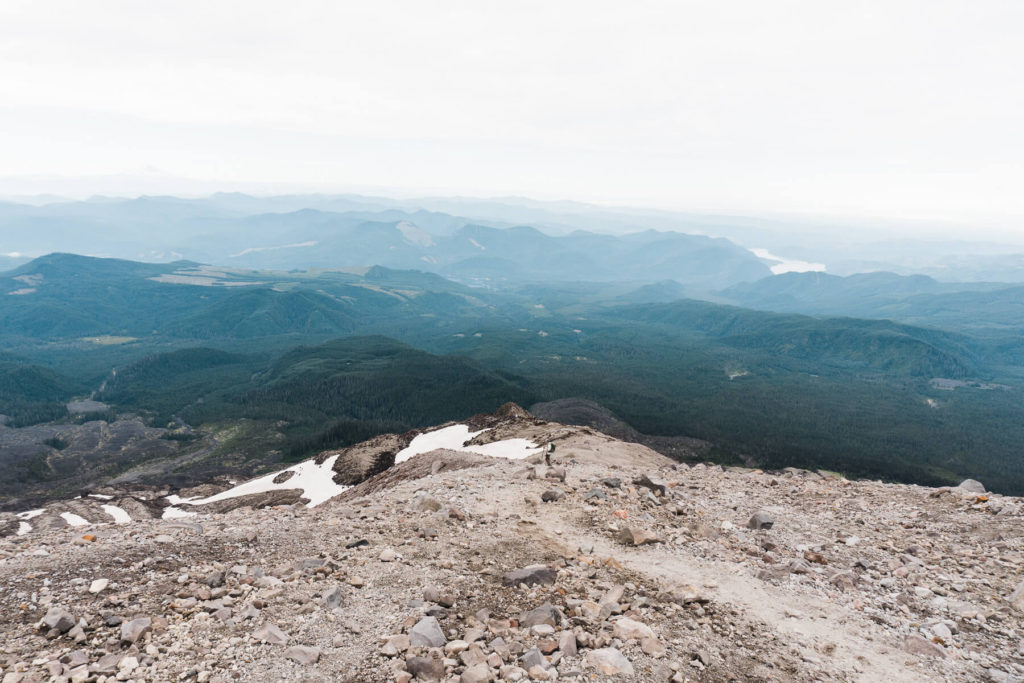
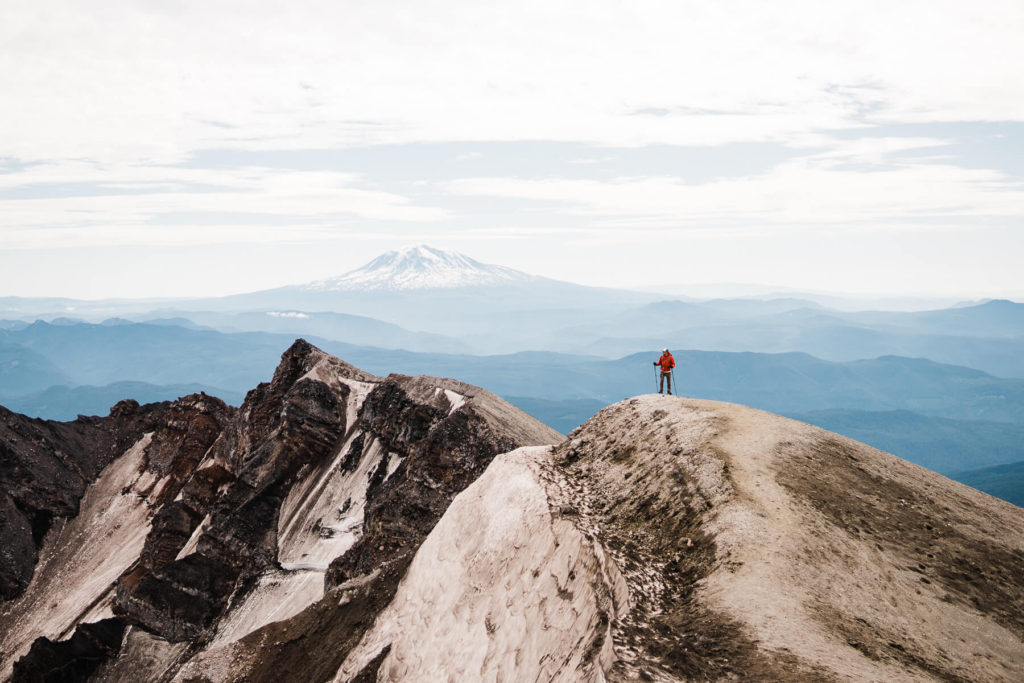
Once we reached around 5000 ft in elevation we took a break for a quick snack and water break. Looking down we had an amazing view of where we just came up. From that spot we were able to see Mt Hood, Mt Adams, Mt Jefferson and other small mountains. It was incredible to see the beautiful views. All along it felt like we were in the Lord of the Rings trying to climb Mordor.
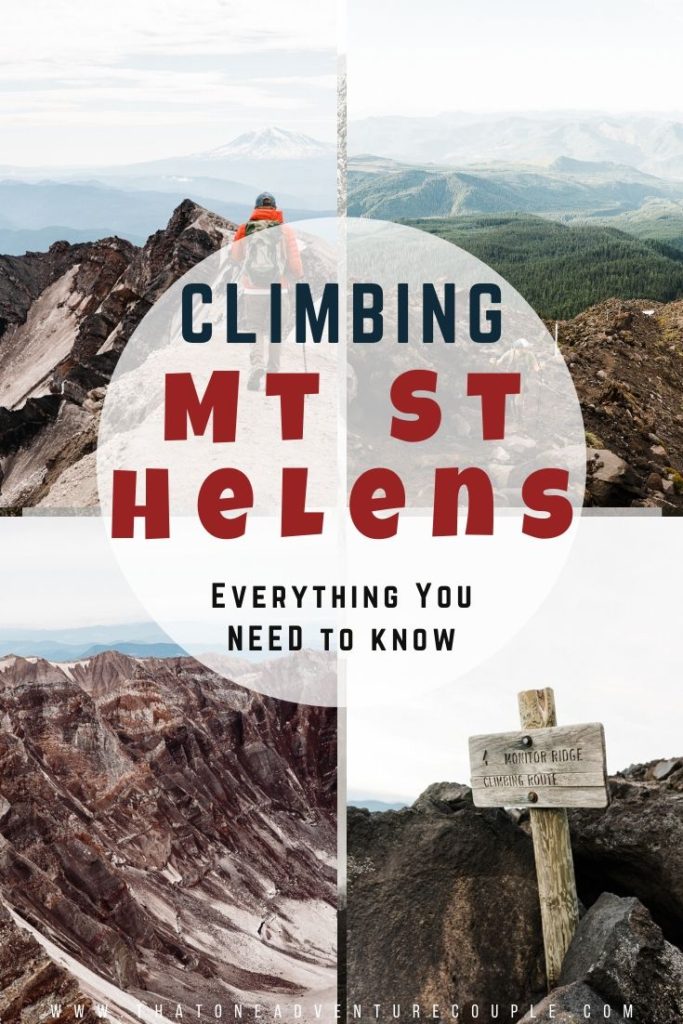
From here it was simply a matter of climbing up over the rock piles, with no real path to follow. There are flat spots in-between, but mostly its a matter of scrambling over rocks. Towards the end we reached a volcano monitoring station, and not much further past it was the scree area.
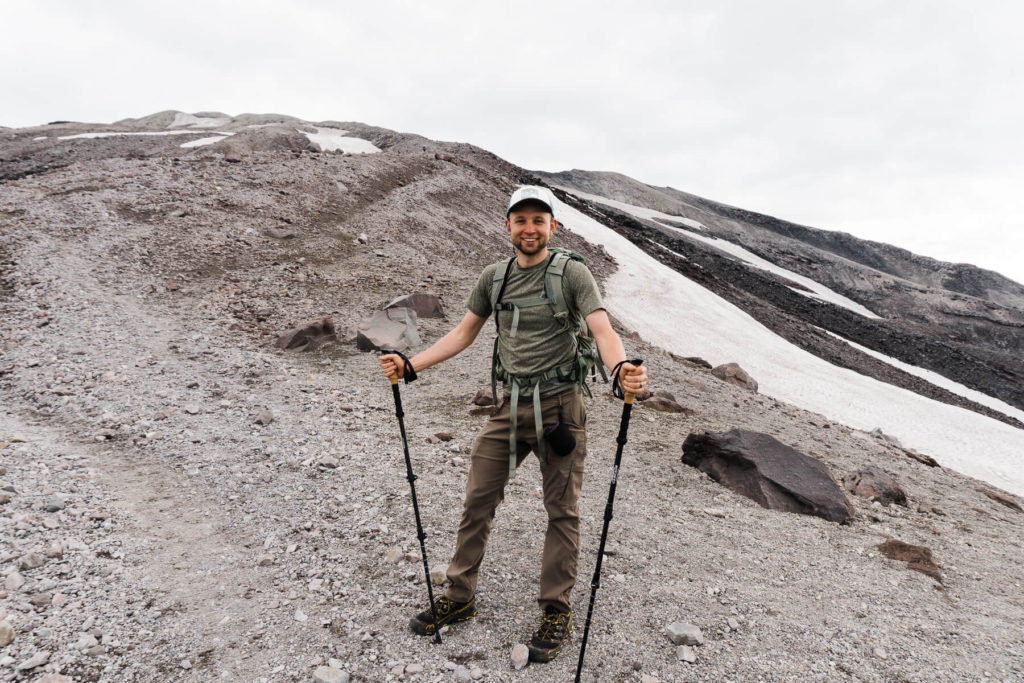
Part Three of the Hike: Ash
Almost done! The last section was one of the hardest parts from the climb. Maybe because the next 1000 vertical feet was just ash and small rocks all the way to the crater rim. It felt so long and exhausting. Our shoes were filling with the small rocks making it difficult to keep going. I think gators would have been a great idea for this part of the trail. We made it our goal to just power through this section and get to the rim.
The trick to getting through this part is to set a good and steady pace and just keep going up because with every step you’re closer to the top.
Reaching the Rim of Mt St Helens
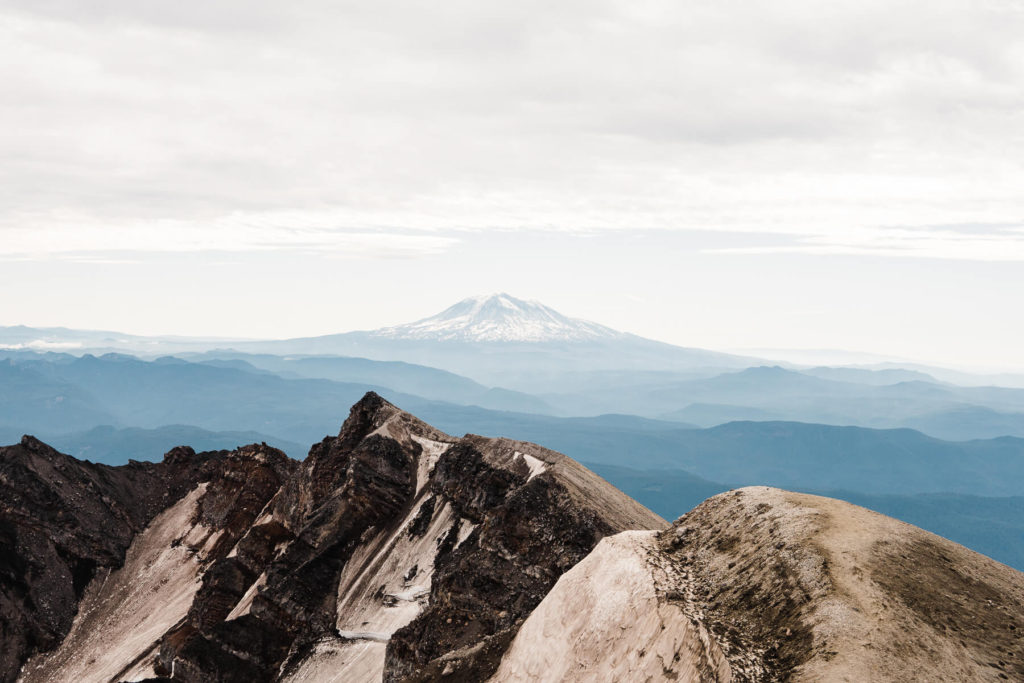
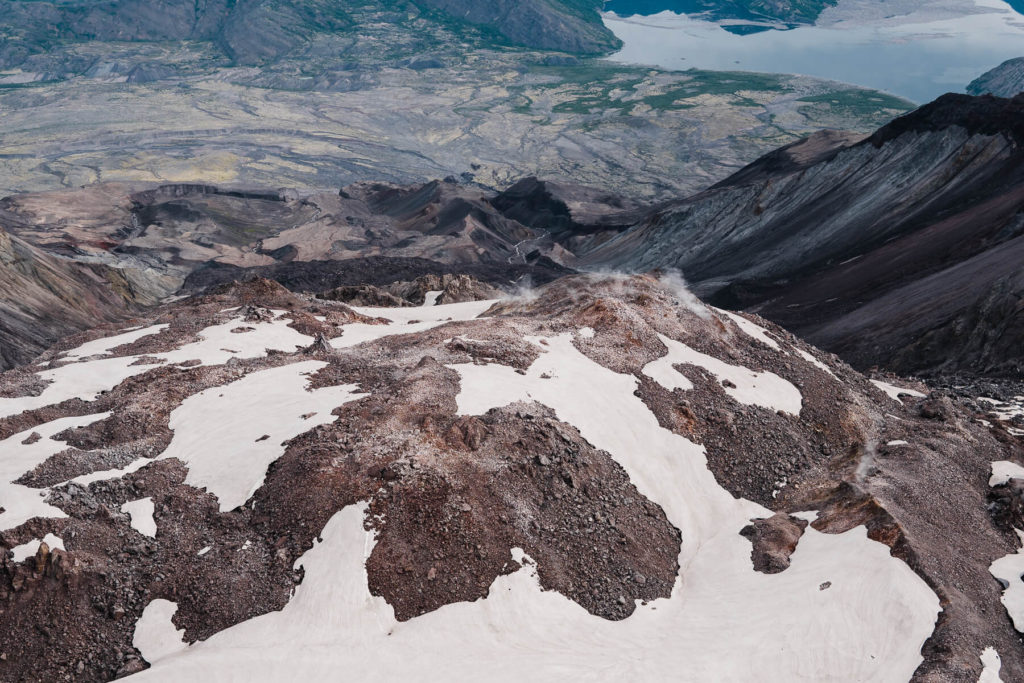
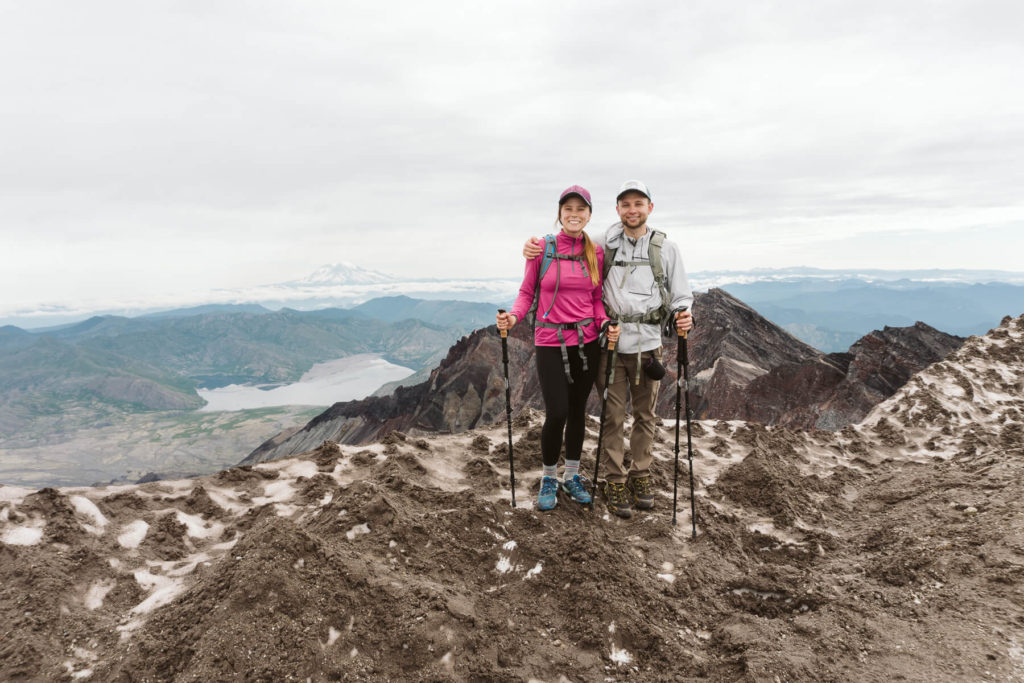
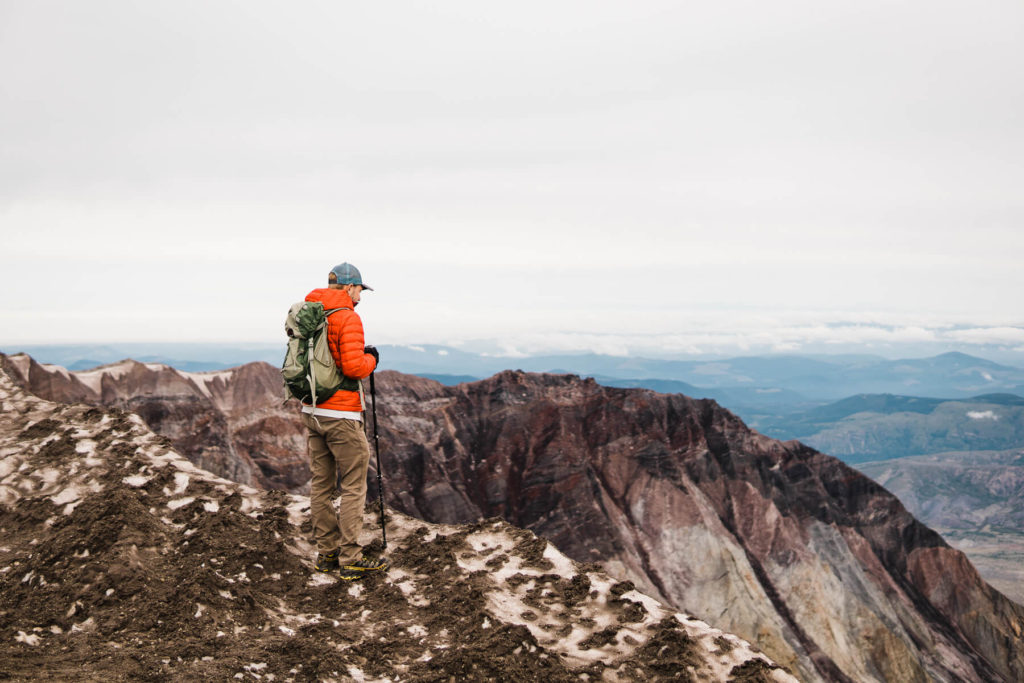
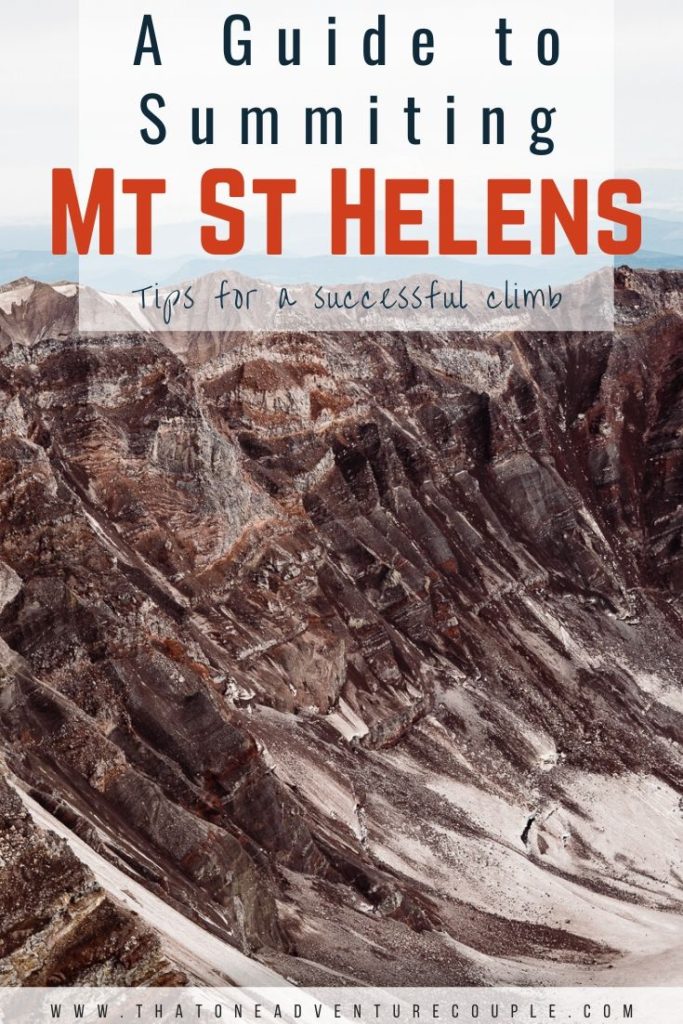
Alex got the the rim of the crater a couple of minutes before me and once I heard him gasp with excitement I quickly reached the top to take in the views of the crater. The weather couldn’t have been more perfect that day. The sky was clear and you could see out to Mt Adams and we even saw a hint of Mt Rainier!
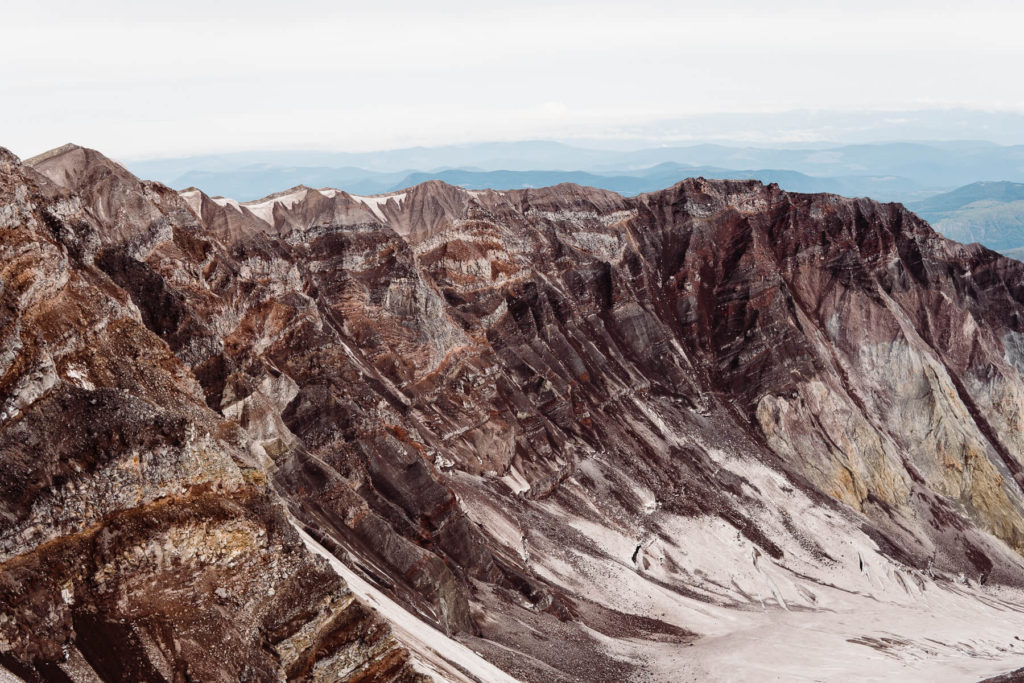
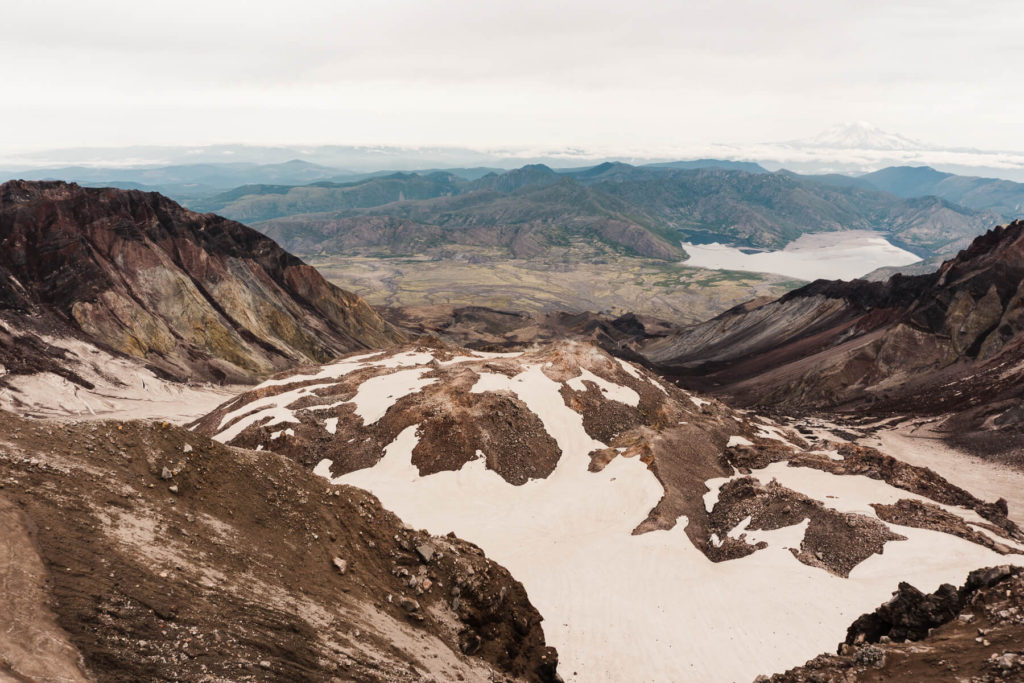
The crater was so beautifully with so many textures and colors. There were a few spots with gas and it made it all so real that we were up on Mt St Helens!
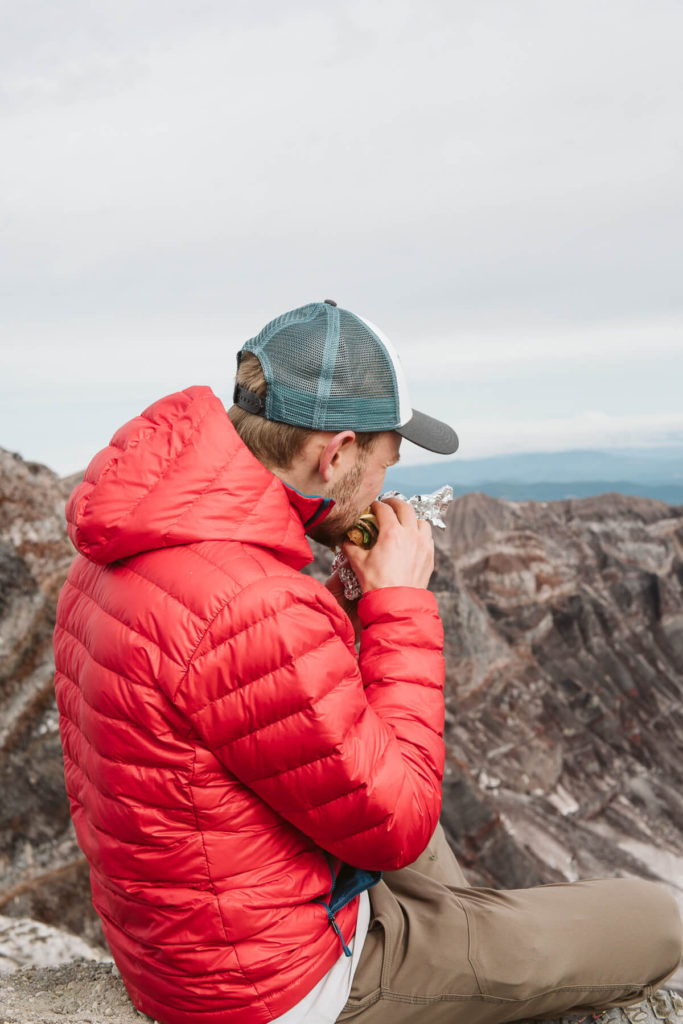
We walked around the rim and found a spot to sit down and eat our lunch sandwiches which we were dying to eat because I packed them with the most delicious ingredients the night before!
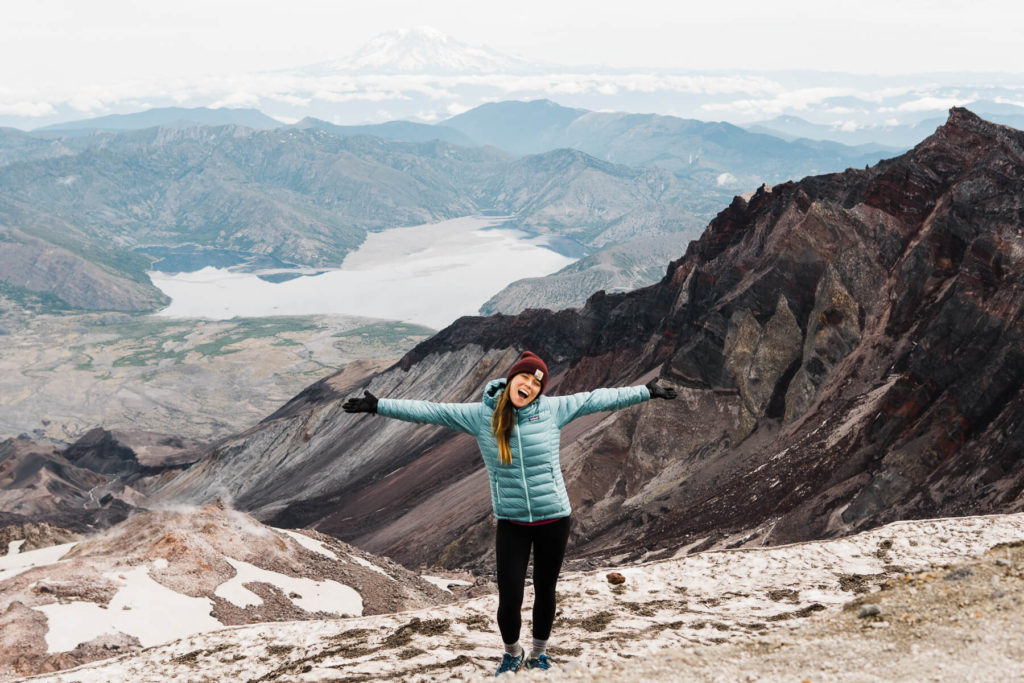
We spent a good hour at the top taking pictures, snacking on food and just enjoying the crazy beautiful views.
Descending Down Mt St Helens
Descending down the mountain took half the time! The hardest part of descending the mountain was trying to go over the boulders. It was a lot harder on the knees going down. Also, on our way down we ran out of water and since it was pretty warm outside we weren’t sure how we were going to make it the rest of the way down. Thankfully the group of guys hiking in front of us gave us some of their extra water and we also found a small stream that was forming from the melting snow on the side of the trail.
We finally made it to our campsite and car at around 1.30pm. We were pretty tired and since our tent was still up we took a much needed nap before leaving.
Plan Your Own Climb Up Mt St Helens
Climbing Mt St Helens was one of our highlights this summer. It’s honestly possible to reach the top for most people and even if you have kids. It might take some training and getting into shape but the reward of reaching the top and looking into the crater and the surrounding mountain tops is totally worth it.
Best Tips For Climbing Mt St Helens
- Go hiking and get into shape a few months before. It helps to do a variety of different hiking trails and difficulty.
- Make sure you have a permit and have it with you for the climb
- Watch the weather
- Bring lots of water
- Bring snacks
- Pack ahead of time and make sure you have the proper gear for the weather that day
We hope this has been a helpful guide to planning your climb up Mt St Helens this year! It’s a rewarding climb and you won’t regret it.
If you need more inspiration or ideas, follow us on our Instagram @thatoneadventurecouple!
Also, don’t forget to subscribe to our Adventure Newsletter where we feature all our favorite travel spots and tips!
Have you climbed Mt St Helens and want to share, let us know in the comments below!
If you climb it, let us know by tagging us in your pictures on Instagram #thatoneadventurecouple #idratherplayoutside!


1 Comment
Stefanie
March 11, 2025 at 9:11 pmThank you for summarizing your adventure to summit Mt. Saint Helens so well, it gave me a great overview of what to expect. I’m aiming to climb St. Helens end of June this year and fundraise for the American Lung Association. Just started training and can’t wait.