The Amazing Quilotoa Loop
We really enjoyed Mindo, it was a lot of fun. Our next destination was the Quilotoa Loop. After jumping from bus to bus we finally arrived in the town of Latacunga. Being as it was late evening we stayed the night here.
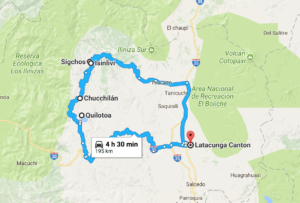
What is the Quilotoa loop you might ask? It’s a 3-4 day trek from little village to little village. Taking you through amazing scenery you see beautiful mountains, valleys, rivers, farms, and little children pointing the way. In case you are fooled into thinking it’s a stroll in the park, let me assure you, it’s one of the most grueling hikes I’ve ever done. At the end of each day, thankfully, we found a number of accommodations. These typically provide dinner, lodging, and breakfast for a minimal cost.
Leaving our stuff in Latacunga
At Latagunga, the typical starting point for the trek, we stored our extra bags at no additional cost. Packing only the essentials for the next few days we set off. Although there are a number of ways to do the loop we opted to start at a town called Sigchos.
It was during this trip that we discovered how amazing an app called maps.me is. Every single turn of our trail was marked on the map. Although not every single road was shown, as long as we stuck to where it showed us to go, we were always going the right way.
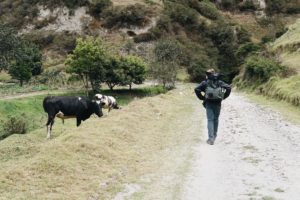
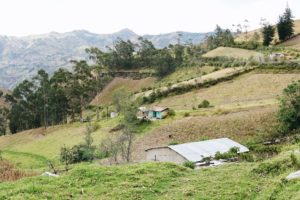
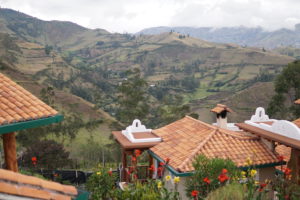
Day 1: Sigchos > Isinlivi
We took a bus from Latacunga directly to Sigchos located at about 9,000ft(2,700m) elevation. There we disembarked and began walking. I was a little nervous. This was the first time we had done a trip of this sort. After walking for a little while we settled into a rhythm of walking, taking pictures, and checking to make sure we were still going the right way.
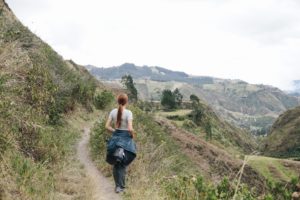
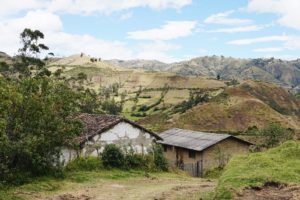
The hike begins in a little valley, and we saw really beautiful scenery of mountains, creeks, and farms as we passed them by. Little did we know, in just a little while we would be getting up close and personal with those mountains. While hiking I noticed that my GPS seemed to be malfunctioning. Soon we arrived in someone’s backyard where we discovered that we had actually missed a turn onto a little horse path. The GPS was actually spot on and I began to trust it more as we figured out through it every single turn.
We descended into a valley, crossed a river, and began to head up. The trail literally went up non-stop gaining about 1,000 ft(300m) in elevation. We passed through farms, where the cows grazed pretty much on an incline. Every time we looked below, it amazed us how much altitude we already gained.
Finally we arrived in our next town called Isinlivi. I know it sounds like it belongs in Lord of The Rings, and the views here felt that way as well. Our hostal, called Llullu Lama, was beyond amazing and we were lucky to snag the last two spots. The place had a hot tub, sauna, and steam room. It felt great to relax and rejuvenate with fellow travelers.
Day 2: Isinlivi > Chugchilan
During the night I was hit with a bit of altitude sickness. We had been in a little bit of a hurry to arrive and as a result instead of doing the trek in 5 hours we had pushed through it in 4. I had a hard time dealing with it since our city of Portland is at only about 50ft elevation. Unable to sleep, I felt like I had an elephant sitting on my chest the entire night. It finally loosened up in the morning and I was able to get some sleep.
We set out about midday, and deciding to take it easier, hiked on to the next town. Chugchilan is at 10,500 ft (3,200 m) elevation. The first part of the trek involved hiking down into a valley, and travelling along a river for a bit. We stopped often to rest with the cows, hang out by the river, and just enjoy ourselves. The second part was a whole different story.
We arrived at a little village surrounded by mountains and looking up I gazed at them in amazement. I could not imagine hiking up that steeply. Looking at the directions, however, I saw otherwise. Our path went straight up. This part of the trek was grueling. Tired from the day before we literally focused on taking one step at a time.
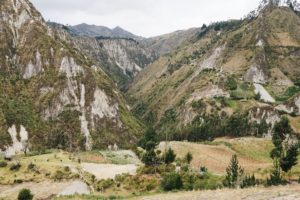
Upon conquering it we stopped at a viewpoint above to look at the amazing view of the canyon below. Looking at it we were suddenly struck with the knowledge that we literally hiked down into, and then back up out of the canyon. It was a really amazing moment, and we felt pretty epic.
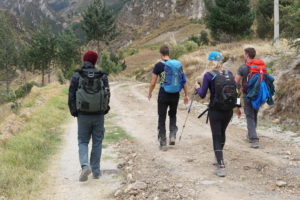
The hike into town, was tiring but not too strenuous. We arrived at one of the hostals in town, had our dinner, and enjoyed a well-deserved rest. Here we met up with some Brits we had met the night before and decided to hike together the next day.
Day 3: Chugchilan > Quilotoa
Heading out the next day we were once again met with stunning scenery and the prospect of a difficult hike. The first part of the trek lulled us into believing that maybe finally we were in shape. After a couple of hours, we came upon Quilotoa Mountain and immediately became aware of how wrong we were.
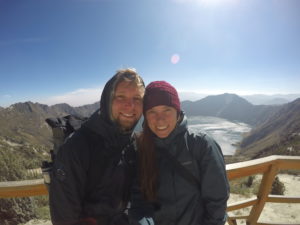
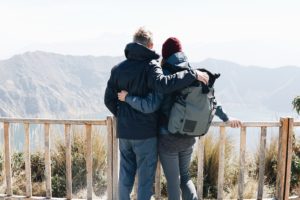
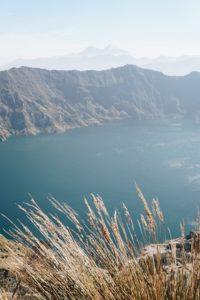
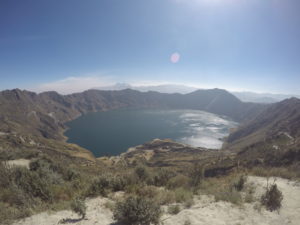
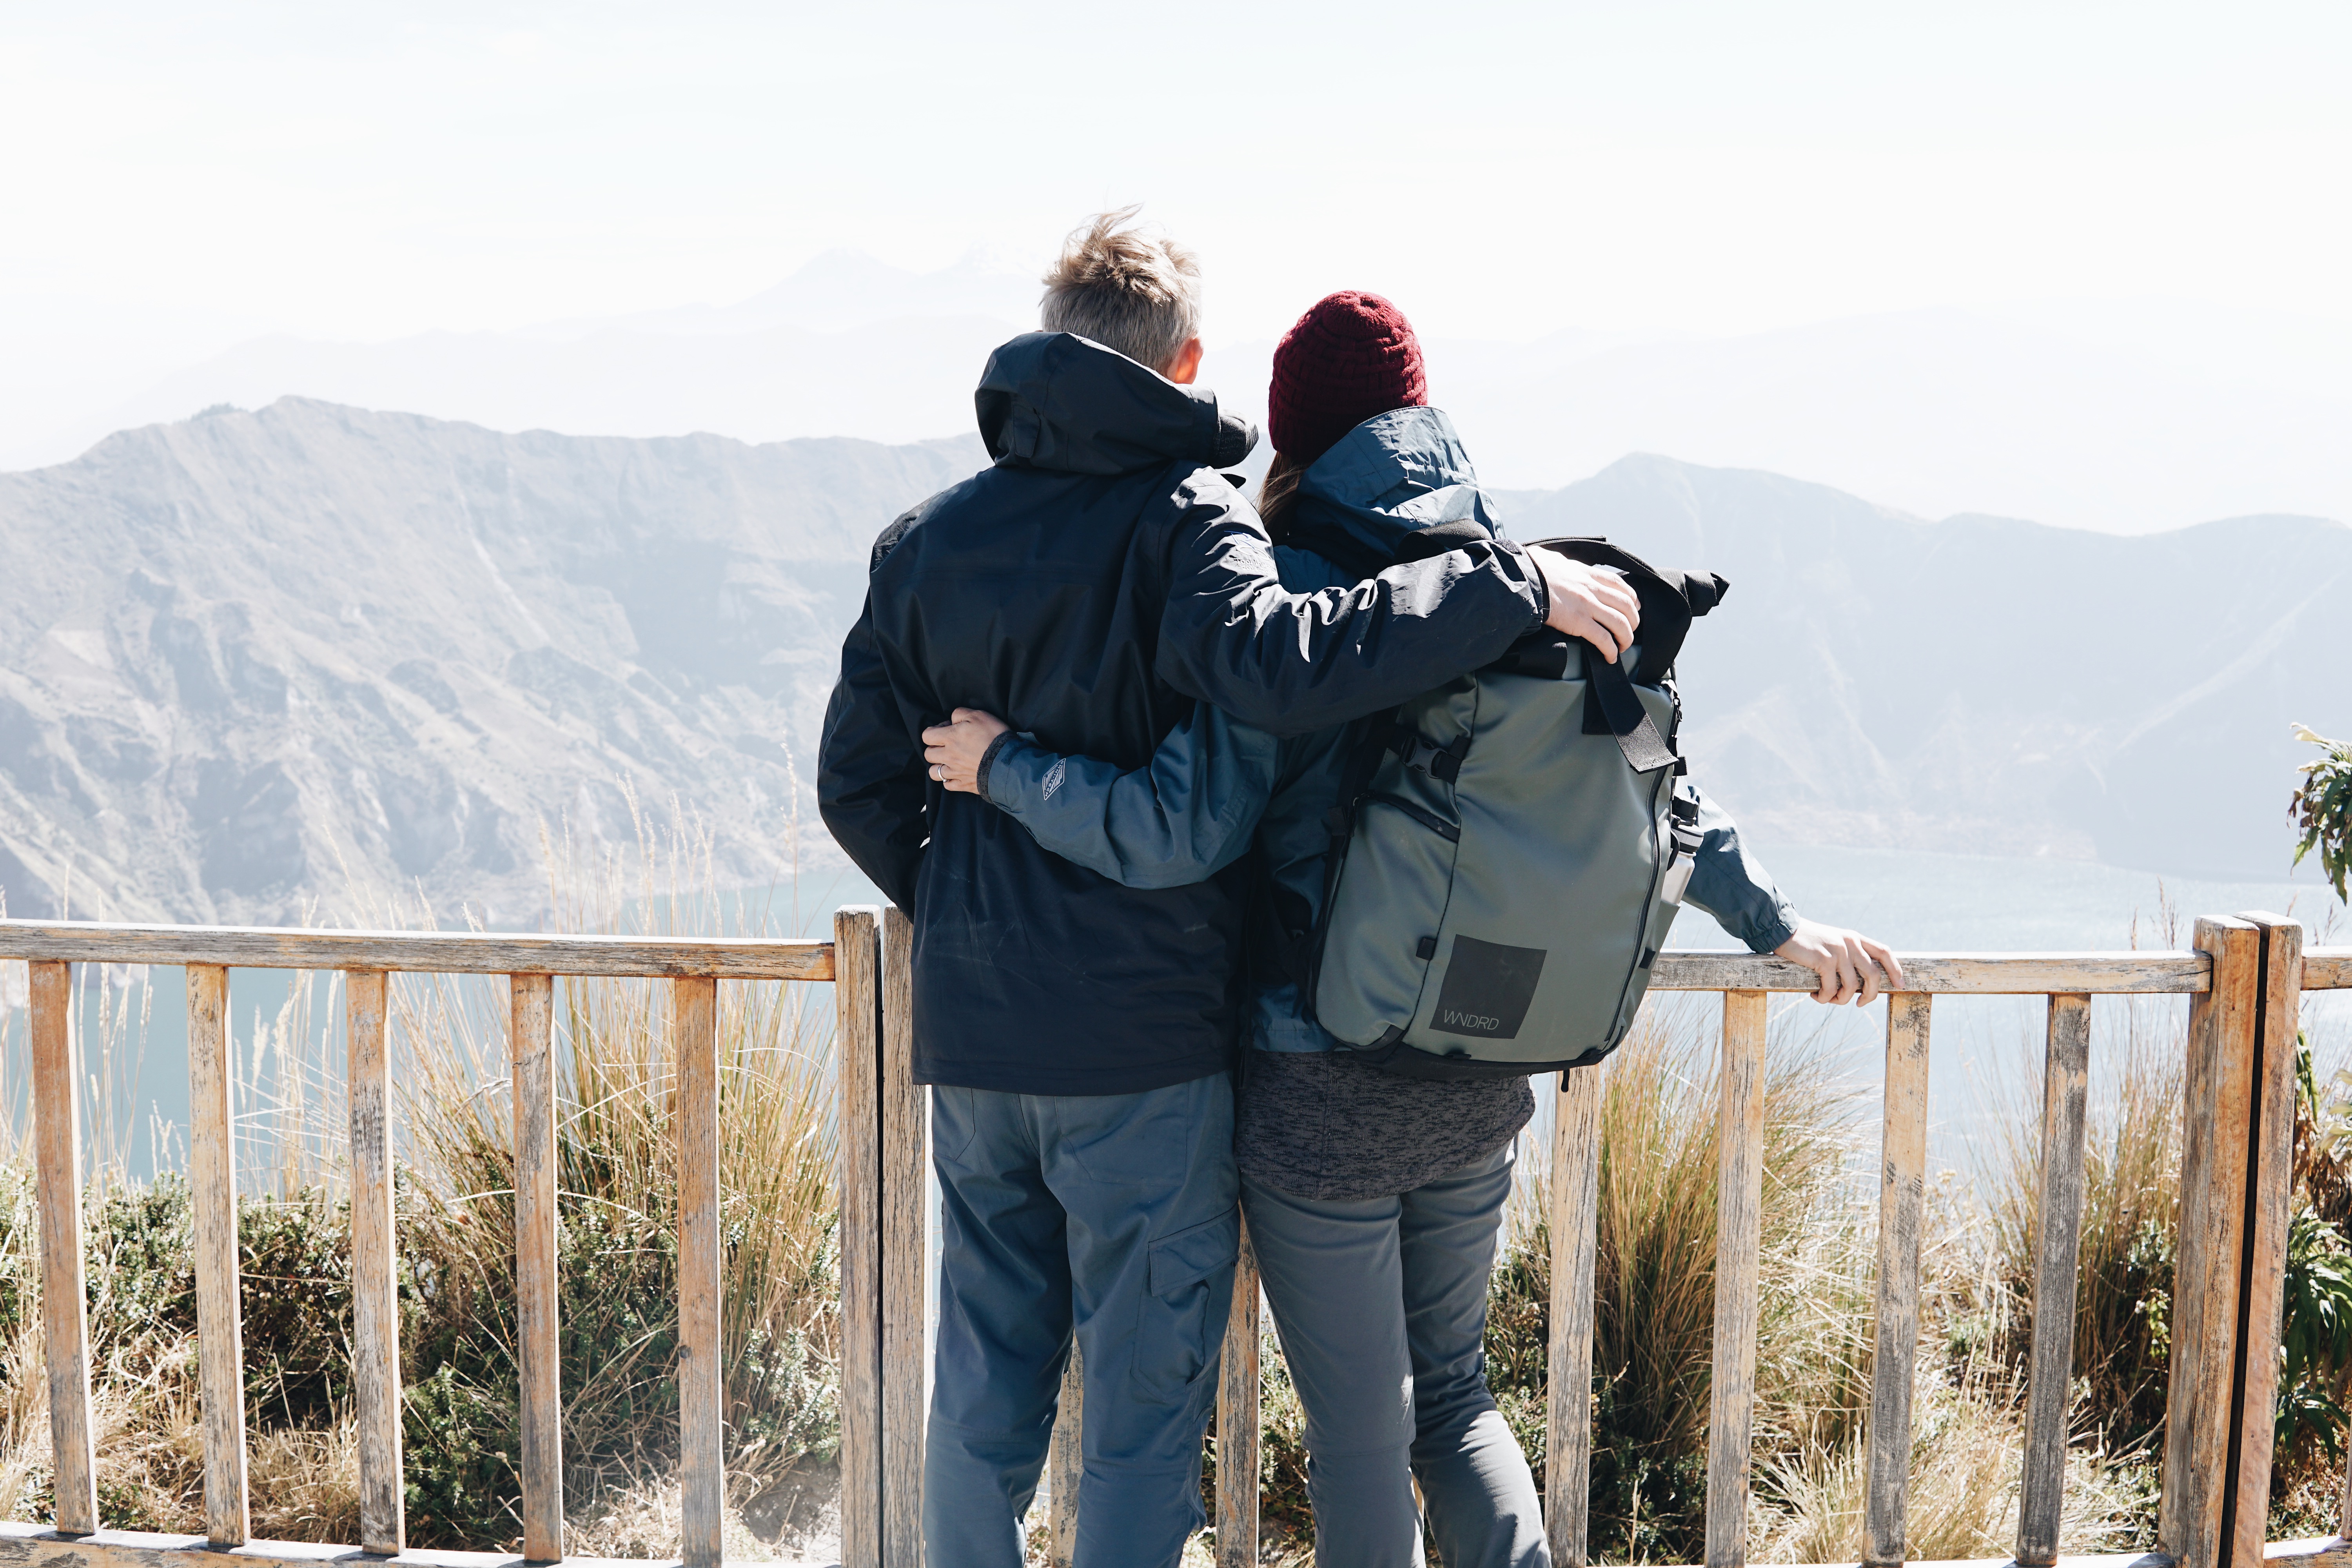
The hike up was step after step of nothing but difficulty. Quilotoa is at about 12,900 ft (3,900 m). Being a higher elevation we literally felt the air thin the further we got. We took many breaks as we went, and finally arrived at the top. There we saw an amazing view of Quilotoa Lake. Quilotoa is an old volcano that had blown its top many years ago. Over time the melting falling rain has filled the basin to create a beautiful lake. We hiked along the edge seeing amazing views and feeling the bite of the blasting wind. Arriving into town we stayed at perhaps the worst place possible, and barely survived the night.
Day 4 : Quilotoa > Latacunga
We awoke the next morning to gaze at an amazing view of the lake. After taking spending a little bit of time taking pictures we caught a bus back to Latacunga. There we picked up our bags and found a bus to our next destination the adventure capital of Ecuador!
This hike was beyond anything we have ever done. It is, however, a great prep for future hikes in South America. The long distances and large elevation gains are similar to other stunning hikes in Peru. We are glad to get the training.
Three words to describe the Quilotoa Loop would be: Elevation, Cows, and Miradors (viewpoints)!
Best Hostels to stay at during the trek
Latacunga- “La Posada“ ($20 for a private room w/ bathroom & free luggage storage while you trek the quilotoa loop. Speaks good English and a map is included)
Isinlivi- “Llullu Llama“ ($19 per person for a dorm room. Breakfast & Dinner is included. Fireplace. Free maps & directions. Great community of people. Hot tub with dry and wet sauna. AN OASIS!) Make sure to book ahead of time because they get filled up quickly!
Chugchilan-“Cloudforest Hostal“ ($15 per person for a private bedroom w/ bathroom. Cozy place with fireplace. Breakfast and lunch included)
Quilotoa –“Chukirawa Hostal“ (we didn’t stay there because we thought we would save money by staying somewhere cheaper. We stayed at “PachaMama Hostal” it was the worst. A nightmare. We heard many good things about Chukirawa Hostal even though its more on the expensive side. Great location. Comfy & warm. Breakfast & Dinner included.
Suggested Packing List
–A day pack or a backpacking pack, this or this (nothing too big)
-A change of clothes (You will be hiking three days)
-1-2 wool/quick dry shirts, hers & his
-PJs (somehting clean to change into after a long day of hiking)
-Shampoo & Bodywash
-Don’t bring a towel all the hostels we stayed at provided one
-Raincoat, hers & his (it gets cold at night & the weather can change quickly)
–Beanie hat and a snapback/Gloves (once you get to the top of Quilotoa its very windy and cold)
–SUNSCREEN (the sun is very strong and you will get burned)
-Snacks (granola bars, trail mix, dried fruit, mints)
After Quilotoa we were ready to head to Banos the adventure capitol of Ecuador!
Get a lonely planet travel guide and start planning your trip!


4 Comments
Gin
December 30, 2018 at 3:48 pmHi! I was wondering if you felt like you had to book all your accommodations ahead of time. Thanks!
Katie
January 3, 2019 at 8:59 pmWe actually didn’t book any of our accommodations and we found that there was always enough room. We would recommend to call ahead or have someone at your hostel call Lulu llama and a reserve room there because they are almost always booked. We got lucky that day when we were there because we started hiking early and were one of the first ones to come there.
For all the other places you can also call a day ahead and reserve a spot just to make sure. Otherwise it’s not really necessary. Theres always a few different options you can choose from if one is booked. Hope this helps! -Katie
Nancy
October 3, 2019 at 12:58 amHi! How exactly did you get from Mindo to Latacunga? How many buses did you have to take and from where to where?
Al
October 10, 2019 at 7:40 pmHi! I don’t remember at the top of my head which buses you need to take. The best way to get to Latacunga would be to go back to Quito (north bus terminal) and take a bus to Latacunga from there. Hope this helps a little bit. There’s also forums that have more info about the buses.
-Katie